
EN
Services, products, and pricing rules
The name of this section depends on your industry. Salons will often see Services, while restaurants and shops may see Products or Menu. The workflow is the same.
Prerequisites
- You have a plan for categories, names, prices, and any service durations.
- You know which required choices, add-ons, and industry details—such as images or allergens—you need.
What you will learn
- why you should create categories before services and products
- how shared modifier groups, their rules and the two price levels fit together
- how to verify the final price and visibility before publishing
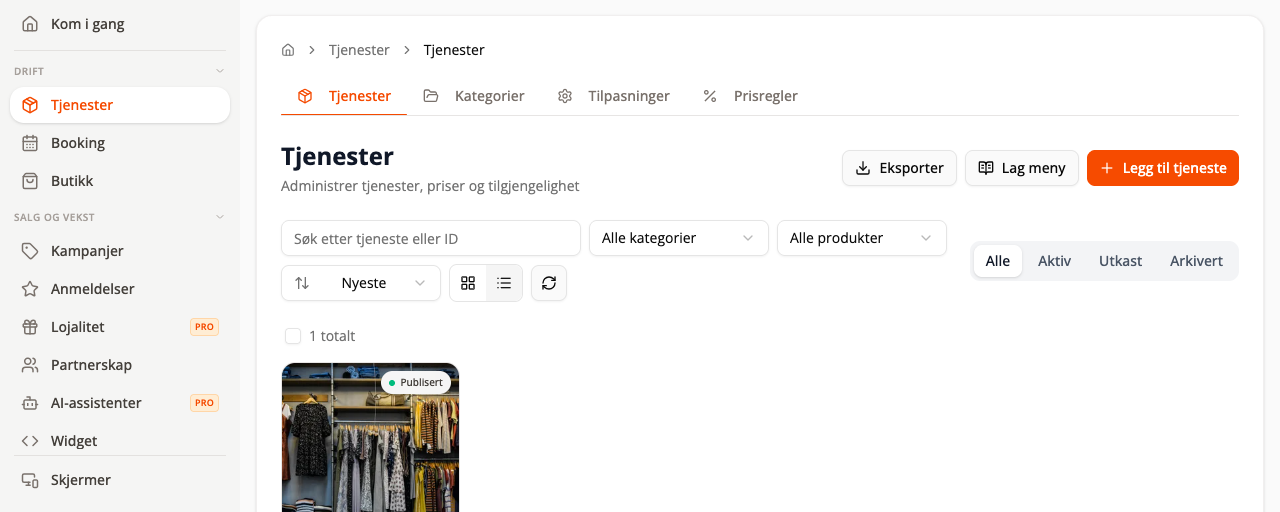
Start with categories
- Go to Operations → Services/Products.
- Open the Categories tab.
- Choose to add a category.
- Give the category a short name and choose whether it should be active.
- Arrange the categories in the order customers should see them.
Examples include “Haircuts,” “Color,” “Lunch,” “Drinks,” or “Accessories.”
Add a service or product
- Open the Services or Products tab.
- Select Add service/product.
- Enter the name, description, category, and price.
- Add a duration for services that customers can book.
- Add an image, allergens, or other industry-specific information when relevant.
- Save as a draft, or publish once you have checked the information.
Use the Active, Draft, and Archived status filters to find content. Archive items you no longer sell; delete them only when you are certain they are not needed in history or reports.
Modifiers
Modifiers let the customer choose something on top of the product itself: a size, an extra, or who performs the service. A group is shared: you build it once and reuse it on every product that needs it.
Add a group to a product
- Open the product and find Modifiers.
- Select Add existing group to reuse a group. Every active option in the group is added automatically.
- Select Create new shared group when the group does not exist yet.
- Choose which of the group’s options this product should use.
- Save the product. The chosen options and any product prices are saved with it.
Rules belong to the group, not the product
Required, Single/Multiple, Maximum choices and Default option are stored on the group. Changing them changes every product using that group, and you are warned before you save.
If one product needs different rules, build it a separate group instead.
Two price levels
Every option carries a Shared price that applies wherever the group is used.
- Set product price overrides the price for this one product. The row then shows both the shared price and For this product.
- Use shared price removes the override and the option follows the group again.
Use this when the same extra is worth more in one place than another, for example an extra shot that costs more in a large cup.
Add options
- Add existing option attaches an option that is already in the group.
- Create shared option creates a new option and saves it in the group, so other products can use it too.
For services
Two settings appear on options that belong to a service:
- Duration change for this service (minutes) makes the booking longer or shorter when the customer picks the option.
- Required skill for this option limits the booking to employees who hold that skill.
What the delete button does
The bin on an option removes that option from this product. The bin on a group removes the group from this product. Neither deletes anything from the shared group, so other products are untouched. To delete a shared group or option for good, do it under Modifiers in the main menu.
Variants (size, color)
Variants are sellable combinations of a product, such as Size M / Color Red. Each variant has its own SKU, stock, and price. Use variants when the customer picks a version that changes the sellable identity; the options above are for reusable add-ons.
- Open the product and find the Variants section.
- Select Add option to create an option card, for example Size or Color.
- Open the card and enter its values (S, M, L). Click a value to set a color swatch or attach images.
- Add a second option card (for example Color) for another dimension; every combination appears in the variant table.
- In the variant table, set SKU, price, and stock per row, toggle a variant active or inactive, or use the bulk fields to apply to all rows.
- Attach images to a value (for example all “Red” photos): when a customer picks that value on the product page, the detail image switches to it.
New variants start at 0 stock so they cannot be sold before you enter inventory.
Pricing rules
Pricing rules can change a price based on time, channel, or other conditions. Keep the rules simple, and document which rule takes priority if several overlap.
Always verify the final price in the customer journey. A correct base price is not enough if an option or pricing rule is wrong.
Create a menu and export
Some industries can use Create menu to produce a visual menu/poster and Export to download the list. This does not necessarily change what is published in the ordering widget; check both surfaces.
Next steps
Continue with Orders and order settings or Bookings, tables, and the waitlist.